Do You Know How To Make A Hat Rack Quickly And Easily?
Let your imagination run wild and use your skills to create your own hat rack! Today we will propose some simple ideas on how to make it.
The best part is that you don’t have to spend a lot of money as you can use whatever materials you may already have at home!
What will you need
- 4 or 5 glass bottles (you can use as many as you like and also mix and match their shapes and style)
- 1 rectangular sheet of wood, glass or acrylic
- a piece of thin cotton string
- alcohol
- one container of water
- hot glue gun
Instructions
- First, tie a string around the bottle, about 5 cm below the neck. Make sure the twine is wrapped only once and that it is well adjusted.
- Soak the string with alcohol so that it is soaked well.
- Light the string with a lighter. You may have to try several times if it goes out too quickly.
- After the string burns for a minute, immerse the bottle in a container with water. You should hear a click which means the glass is broken. The bottle should be cracked along the string.
- Repeat this process with the remaining bottles. Measure them to make sure they are the same size.
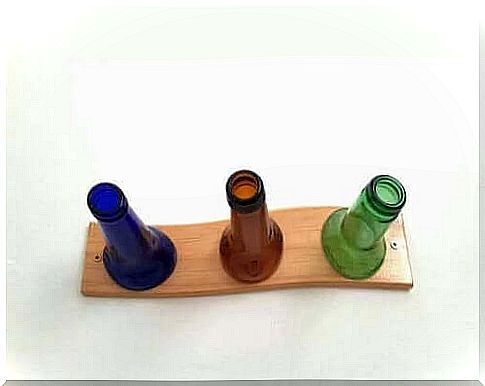
- Mark the places where you want to place the bottle necks on a piece of wood, glass or acrylic.
- Brush the cut edges of the bottles with glue.
- Place the cut necks in the place marked on the board.
- Finally, you can hang the new hanger on the wall with nails or screws.
Wooden hat rack and forks
Do you have old forks at home that you don’t use anymore? Turn them into a stand to hang your hats on! You just need to bend the cutlery and turn it into hooks.
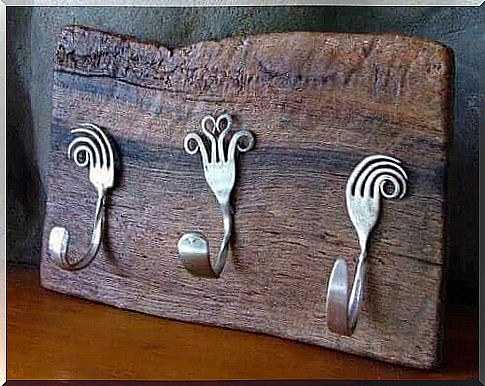
It is a simple and cheap way to make a hat hanger. You just need to bend the forks and attach them to the board or wall.
What will you need
- old forks
- pliers
- drill with a small drill
- A piece of wood
Instructions
- Place a fork on a piece of wood and secure it securely with adhesive tape or a ligature.
- Then drill a small hole in the shank of the fork.
- Grab the fork and bend it upwards with the tongs. Do this starting in the center of the fork.
- You can also bend the fork’s teeth to give it an interesting look.
- Finally, stick a fork into the board, using the pre-drilled hole.
- You can also nail the forks directly to the wall.
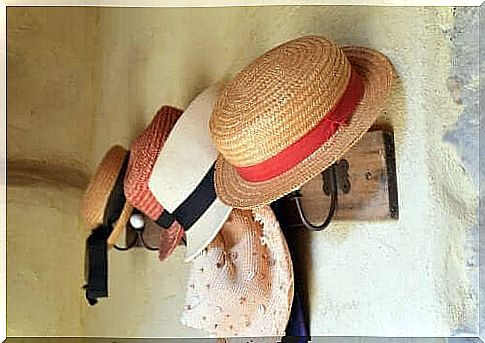
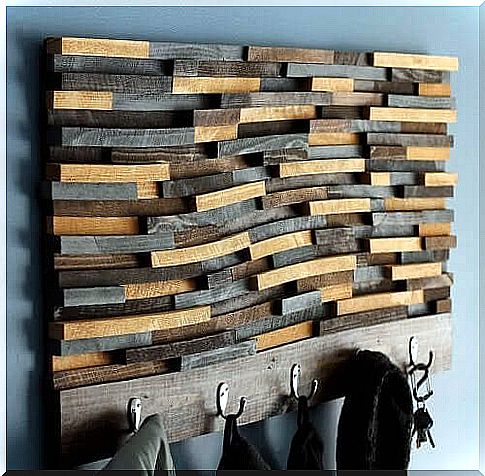
Rustic clothes hanger
What will you need
- hooks (can be purchased at the hardware store)
- wood
- nails and hammer
- paint
Instructions
- First, cut a few rectangular pieces of wood.
- Then paint it to your liking.
- Nail them to the wall where you want the hanger.
- Then nail or screw the hooks to the board.
- You can nail the clothes hanger directly to the wall by making holes in the plank, or you can hang it on hooks.
Have you ever tried to make your own hat rack? As you can see, it’s very easy to make and you can use whatever materials you probably already have at home!